Your bauble kit
A tiny hand, kept
Everything you need is in the box. About twenty minutes of actual painting — the rest is drying time, so start it on a day when the bauble can sit somewhere safe for a couple of days.
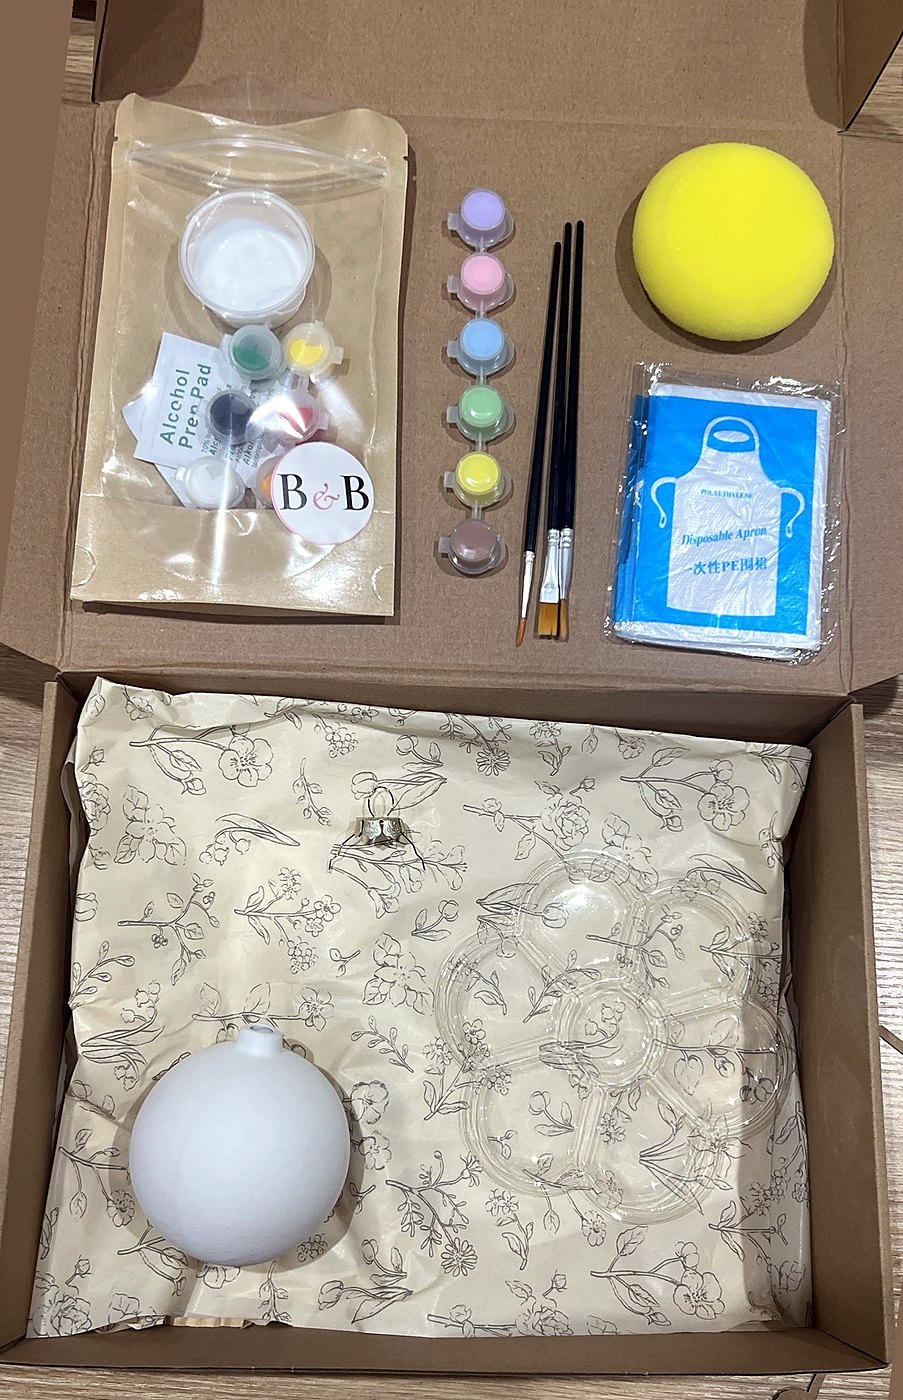
What’s in the box
- A white bauble, with its metal top for hanging
- Child-safe paint for the print — the pot marked baby
- Acrylic paints for the details
- Two brushes and a sponge
- A flower palette, which doubles as the drying stand
- An alcohol wipe to prep the surface
- A tub of gloss sealant to finish and protect it — no kiln, nothing to post back
- An apron, because of course
Worth having to hand: a covered table, a damp cloth, and someone to hold the baby.
Wipe the bauble
Give it a wipe all over with the alcohol pad from the box and let it dry for a minute. It lifts the dust off, and the paint grips much better on a clean surface.
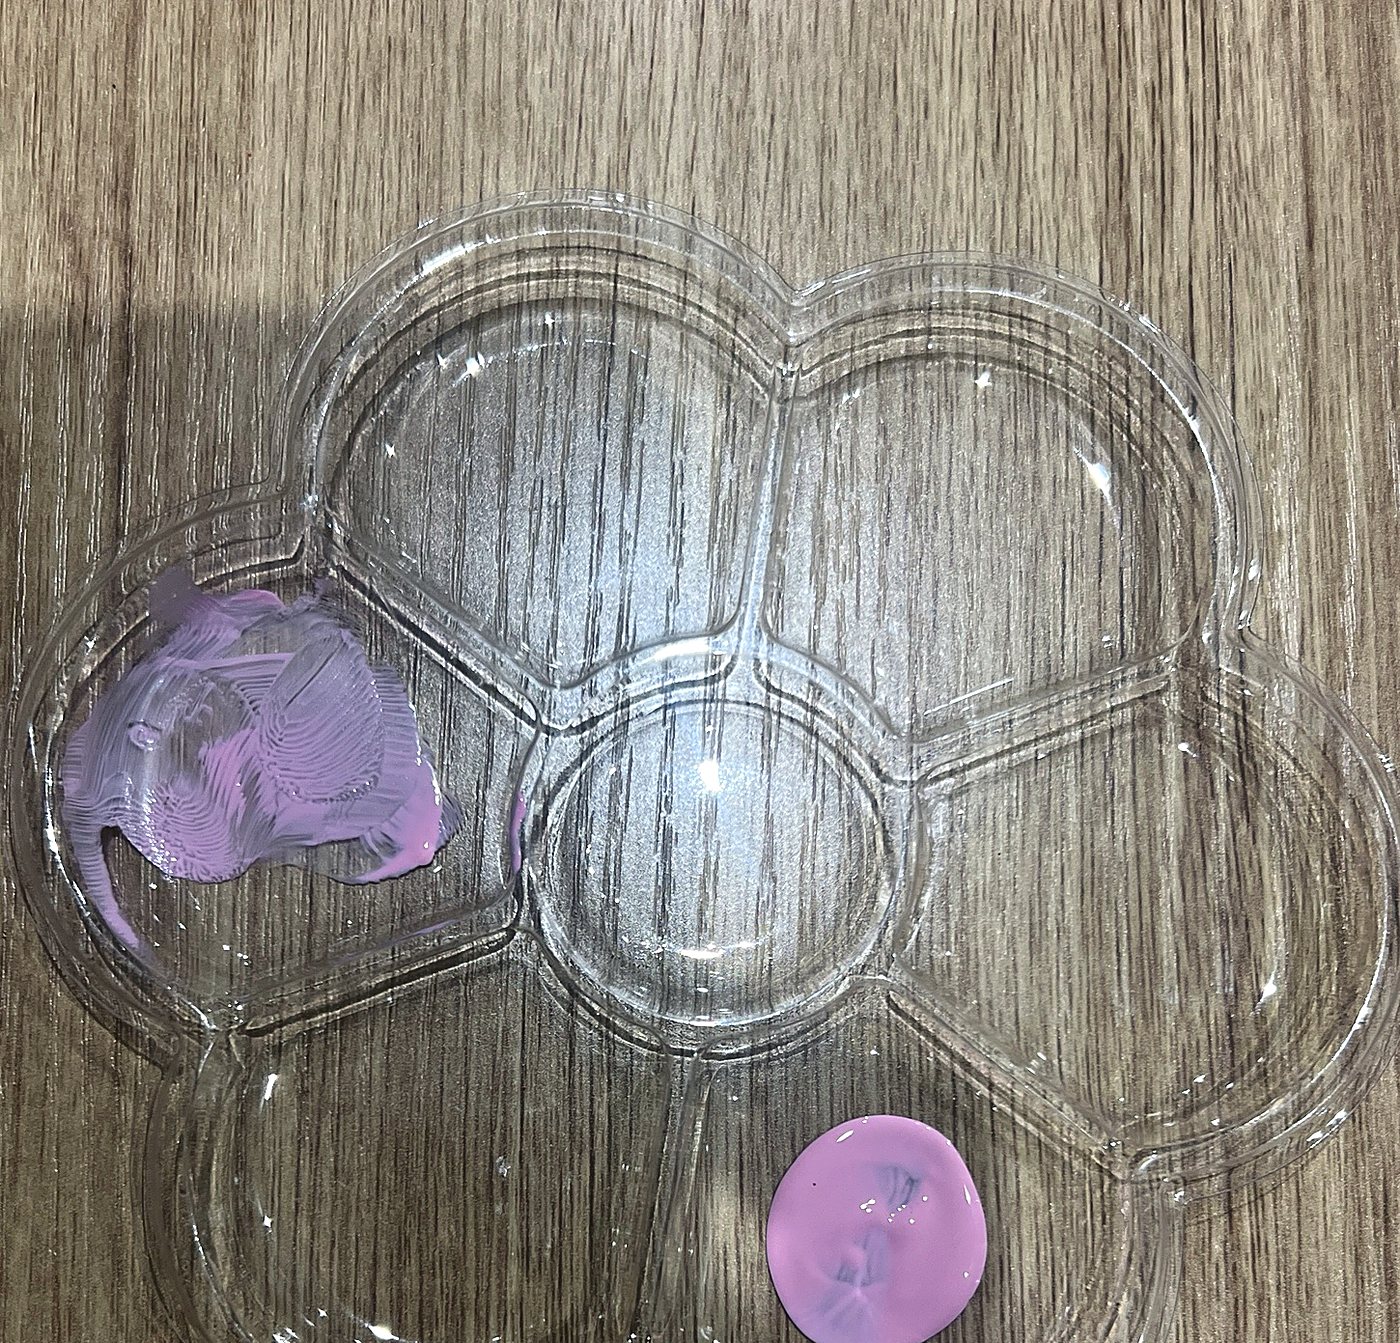
Put some baby paint in the palette
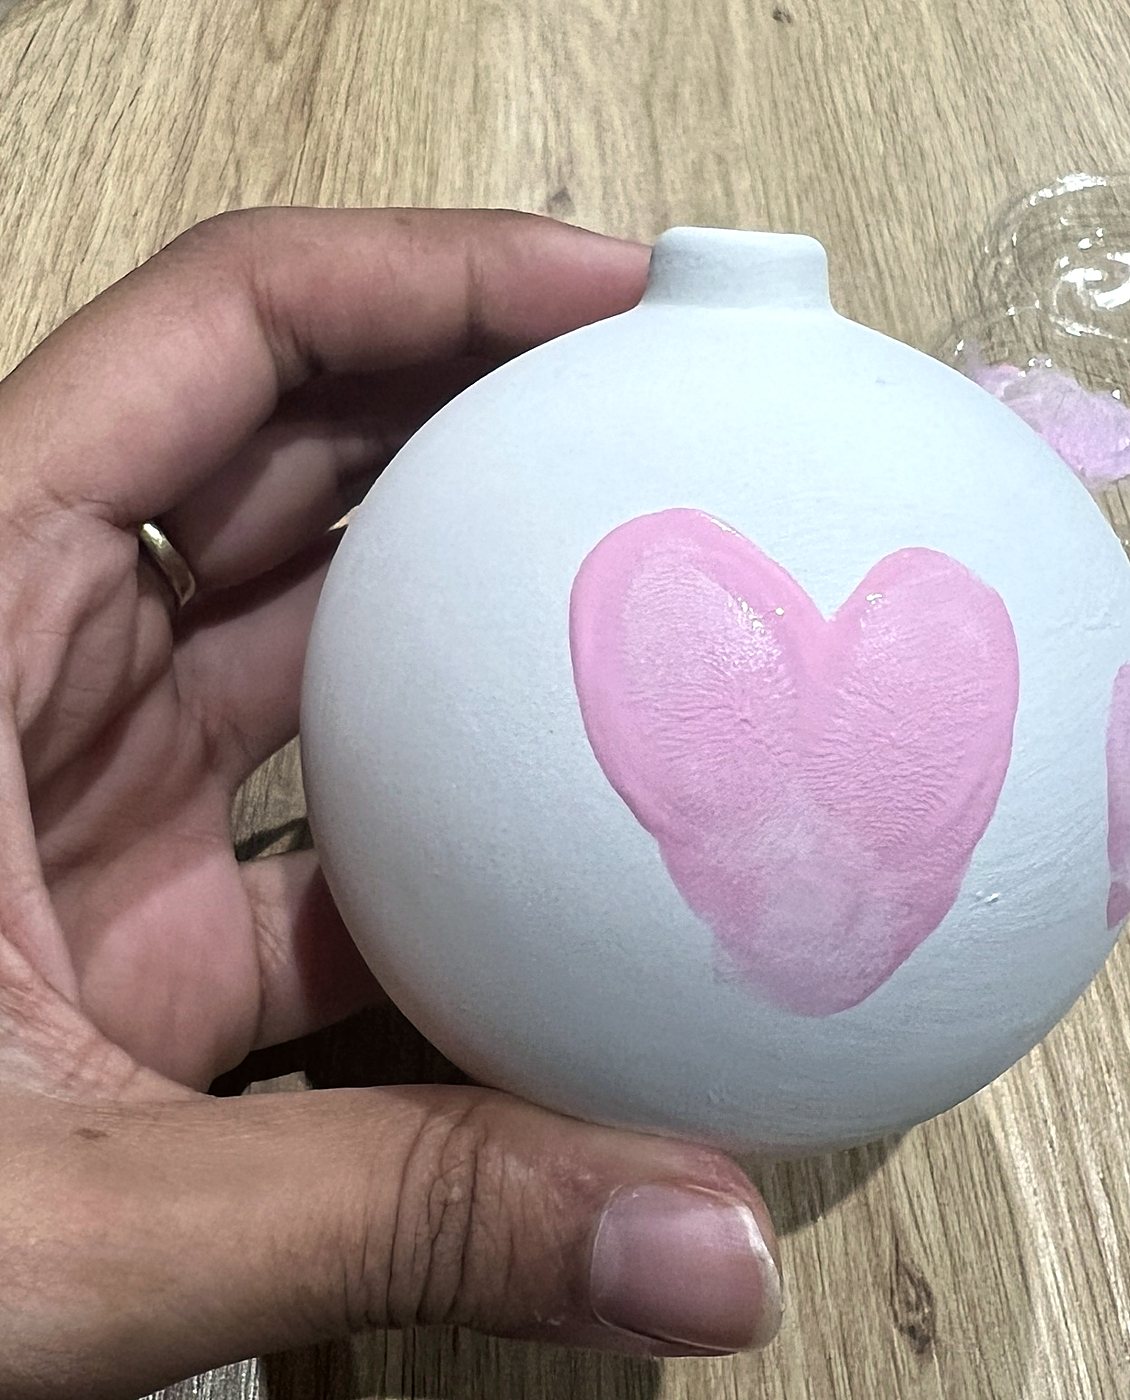
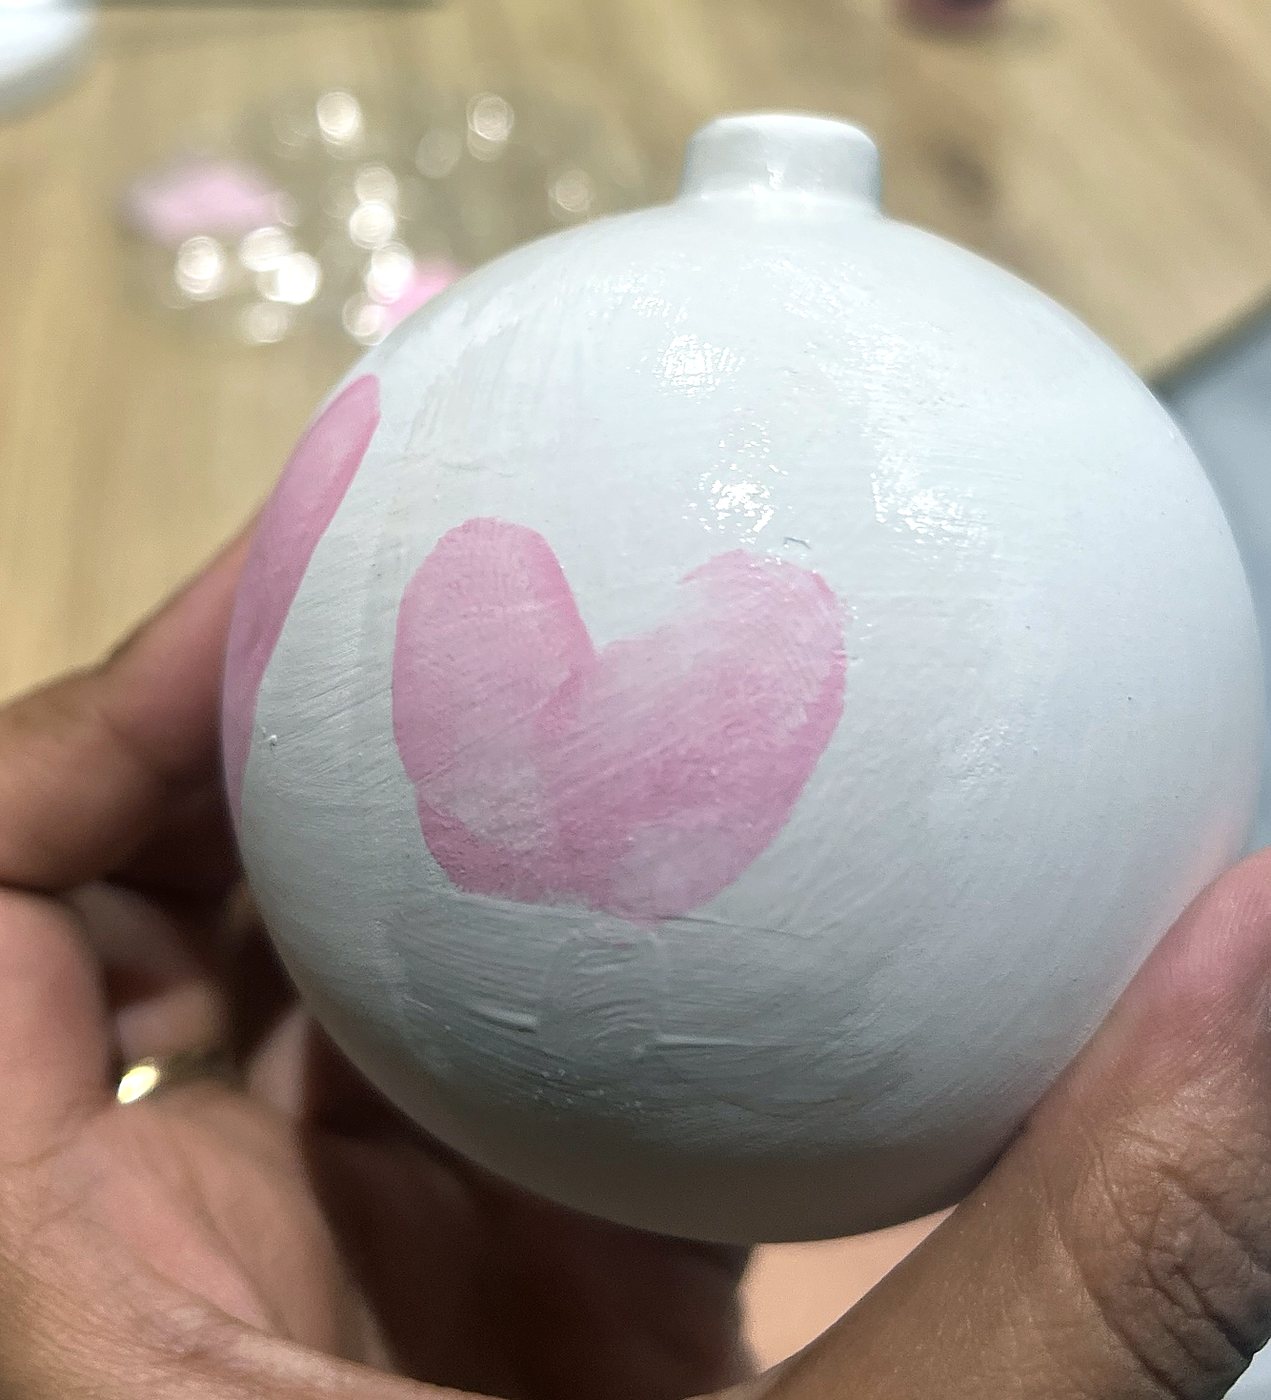
Squeeze a little of the paint marked baby into one of the petals — you don't need much at all. Load it onto their hand or foot with a brush or the sponge, then press it onto the bauble and lift straight off.
Tip. A thin, even layer prints far better than a thick one. Too much paint and the print spreads into a blob as it meets the curve.
Stand it up and leave it 30–40 minutes
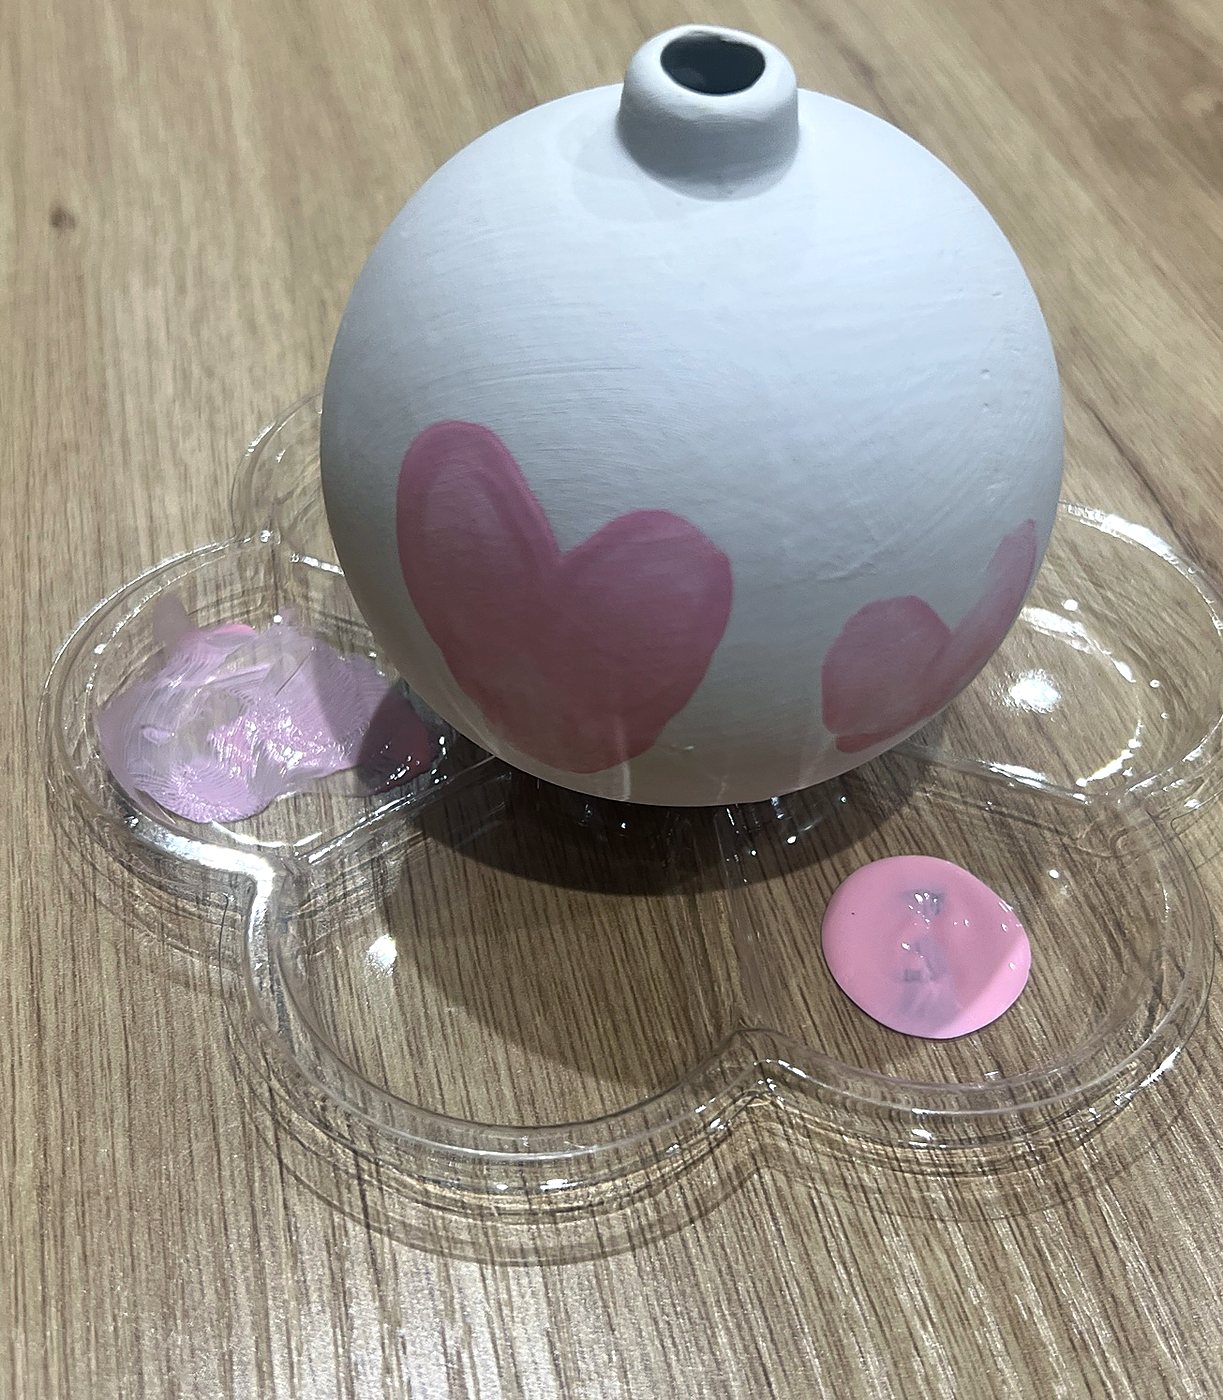
The round well in the middle of the palette is a stand — sit the bauble in it and leave the print to dry for half an hour or so before you touch it again.
Add the details
Now the little acrylic pots. Turn the fingers into snowmen, add their name, the year, a few dots of snow — whatever you fancy. This is the part to take your time over.
Tip. Let one colour dry before you put another next to it, or they'll pull into each other.
Leave it 48 hours
The bit everyone wants to skip. The paint needs a full two days to harden before anything goes over it. Seal it sooner and the varnish drags the design with it.
Seal it
Take the tub of sealant and brush a thin coat over the whole ball. Leave it an hour, then add another coat if you'd like it shinier. You can build up as many as you want — lots of thin coats always beat one thick one.
Fit the top
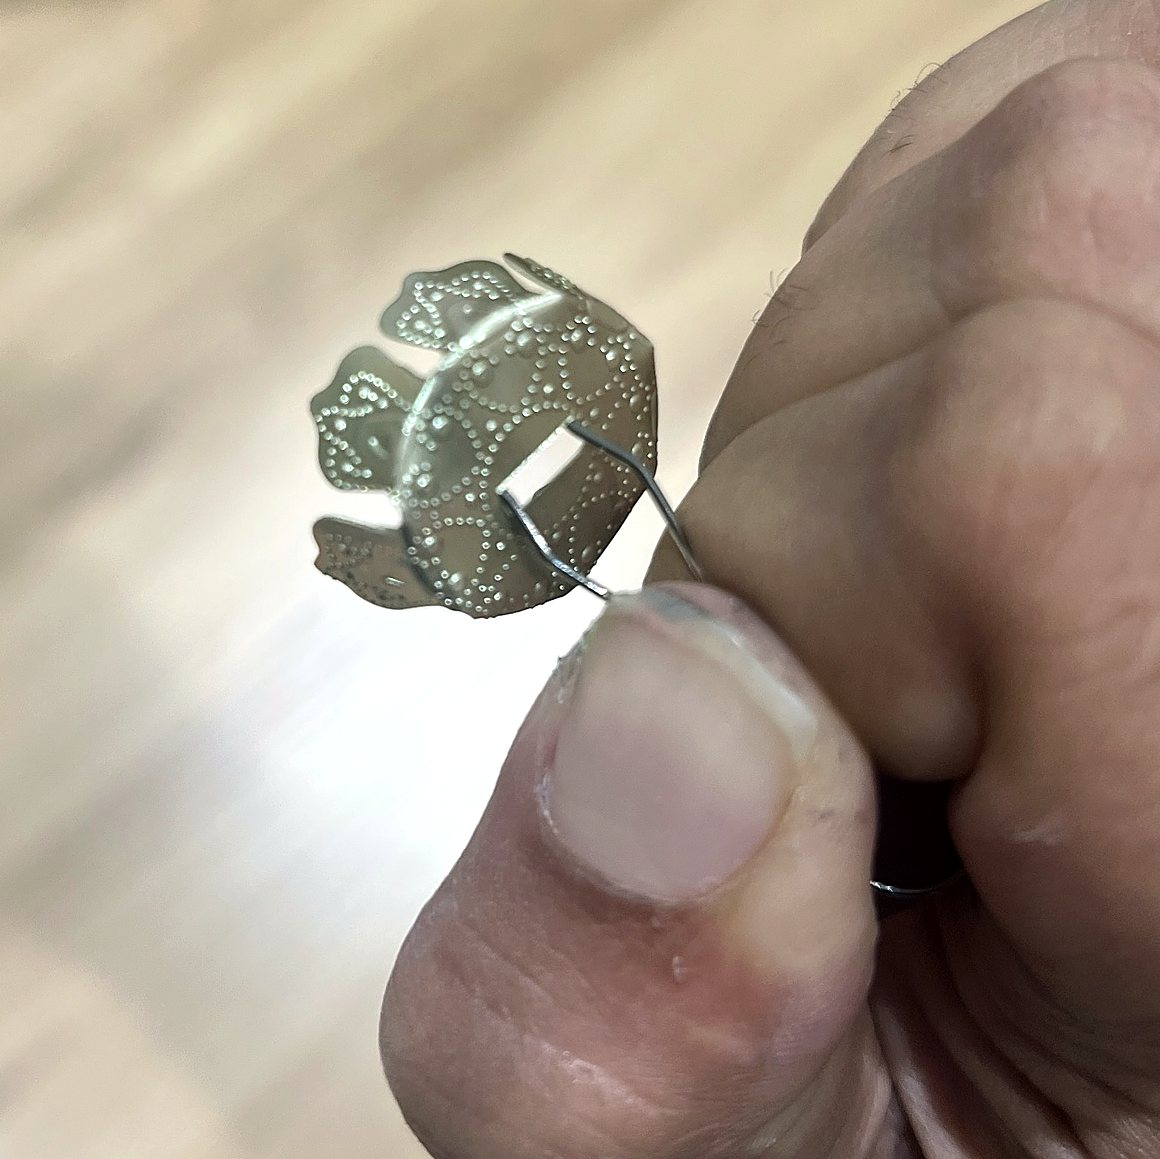
Once everything is properly dry, pinch the pins on the metal top together, push it into the neck of the bauble and let go so it springs open inside. That's it — ready for the tree.
The waiting, in one place
- 30–40 min
- after the handprint, before you add anything else
- 48 hours
- after the painting, before any sealant goes near it
- 1 hour
- between coats of sealant, for as many as you want
Looking after it
Sealed properly it will hang on the tree year after year. Wipe it with a dry cloth rather than a wet one, keep it out of a hot radiator’s way, and wrap it in tissue when it goes back in the loft in January.
Want something else to paint? Follow a design guide or order another box.